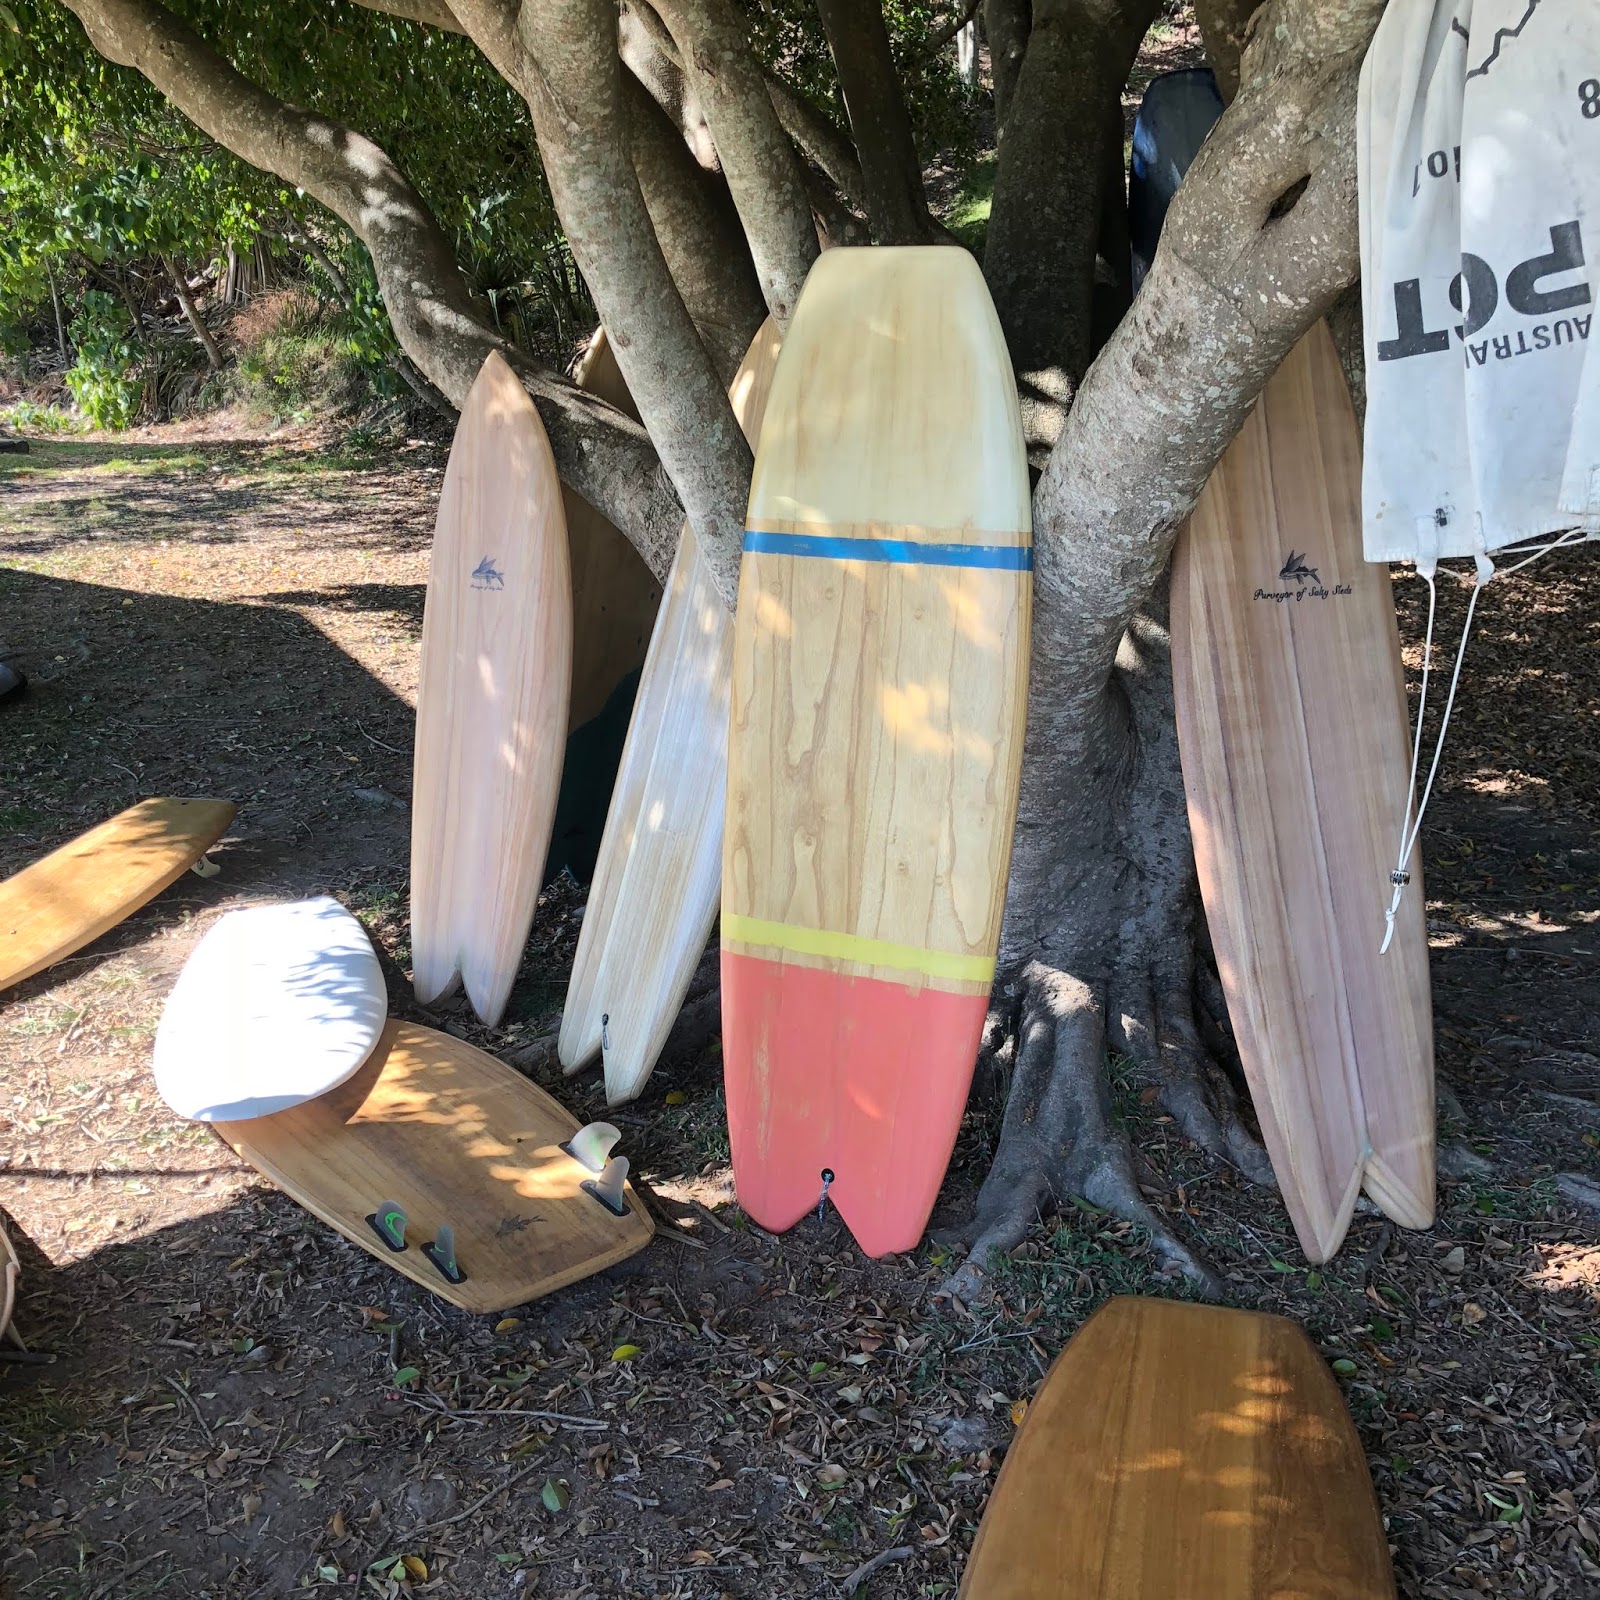
Namaste Corksters,
I finally managed to get Joshs's grom fish finished this week. It took me a little longer than expected but it came up a treat. Final dimensions are 5' x 19" x 2". Paulownia (2.5 mm) on the bottom and 3 mm cork sheeting over another paulownia panel on the top (with some fly screen underneath for extra strength). Very light and strong and weighs in at 1.8 kg with the fins in. A special thanks to Steve Hann for shaping the foam blank. I love this board building technique using cork. It's fast and relatively easy. The boards are strong and light. You need a vacuum pump and bag but it's worth the investment.
Cork on top, paulownia underneath.
The process starts with a shaped foam core. I had this one "Hann" shaped by Steve Hann from the Sunchine Coast.
A nice single to double concave.
A 2.5 mm paulownia panel on the underside of the foam core. A layer of fibre glass insect screen and another 2.5 mm paulownia panel on the top side.
A simple rocker table made from rough sawn pine to keep everything in shape during the gluing and vacuum bagging stage.
Transcribing the fin positions that Steve had marked on the foam core onto tracing paper. These will be marked on the board after the bottom paulownia panel is glued on.
Applying a layer of polyurethane glue to the Paulownia panels using a squeegee and a roller.
A layer of glue on the foam core.
I use a squeegee and a foam roller to get a nice even layer of glue.
The fibre glass insect screen sits between the top side of the foam core and the top paulownia panel. This adds extra strength to the whole board.
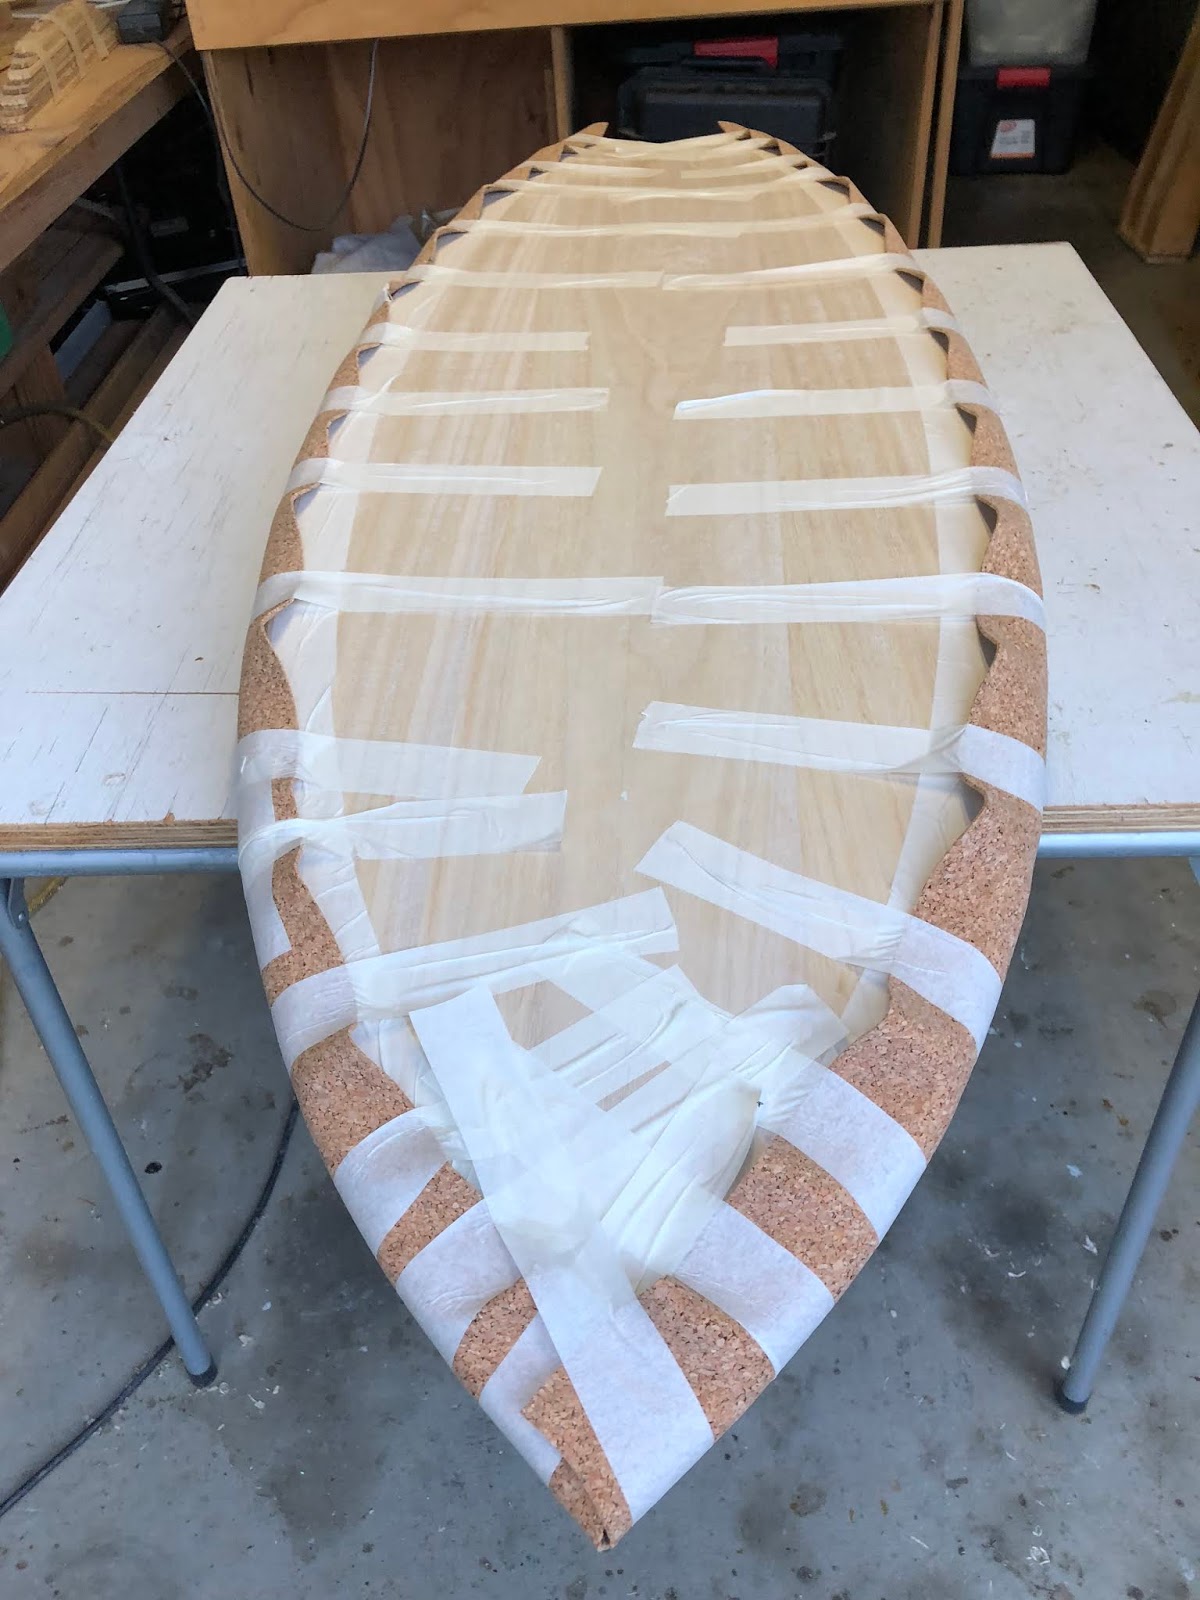
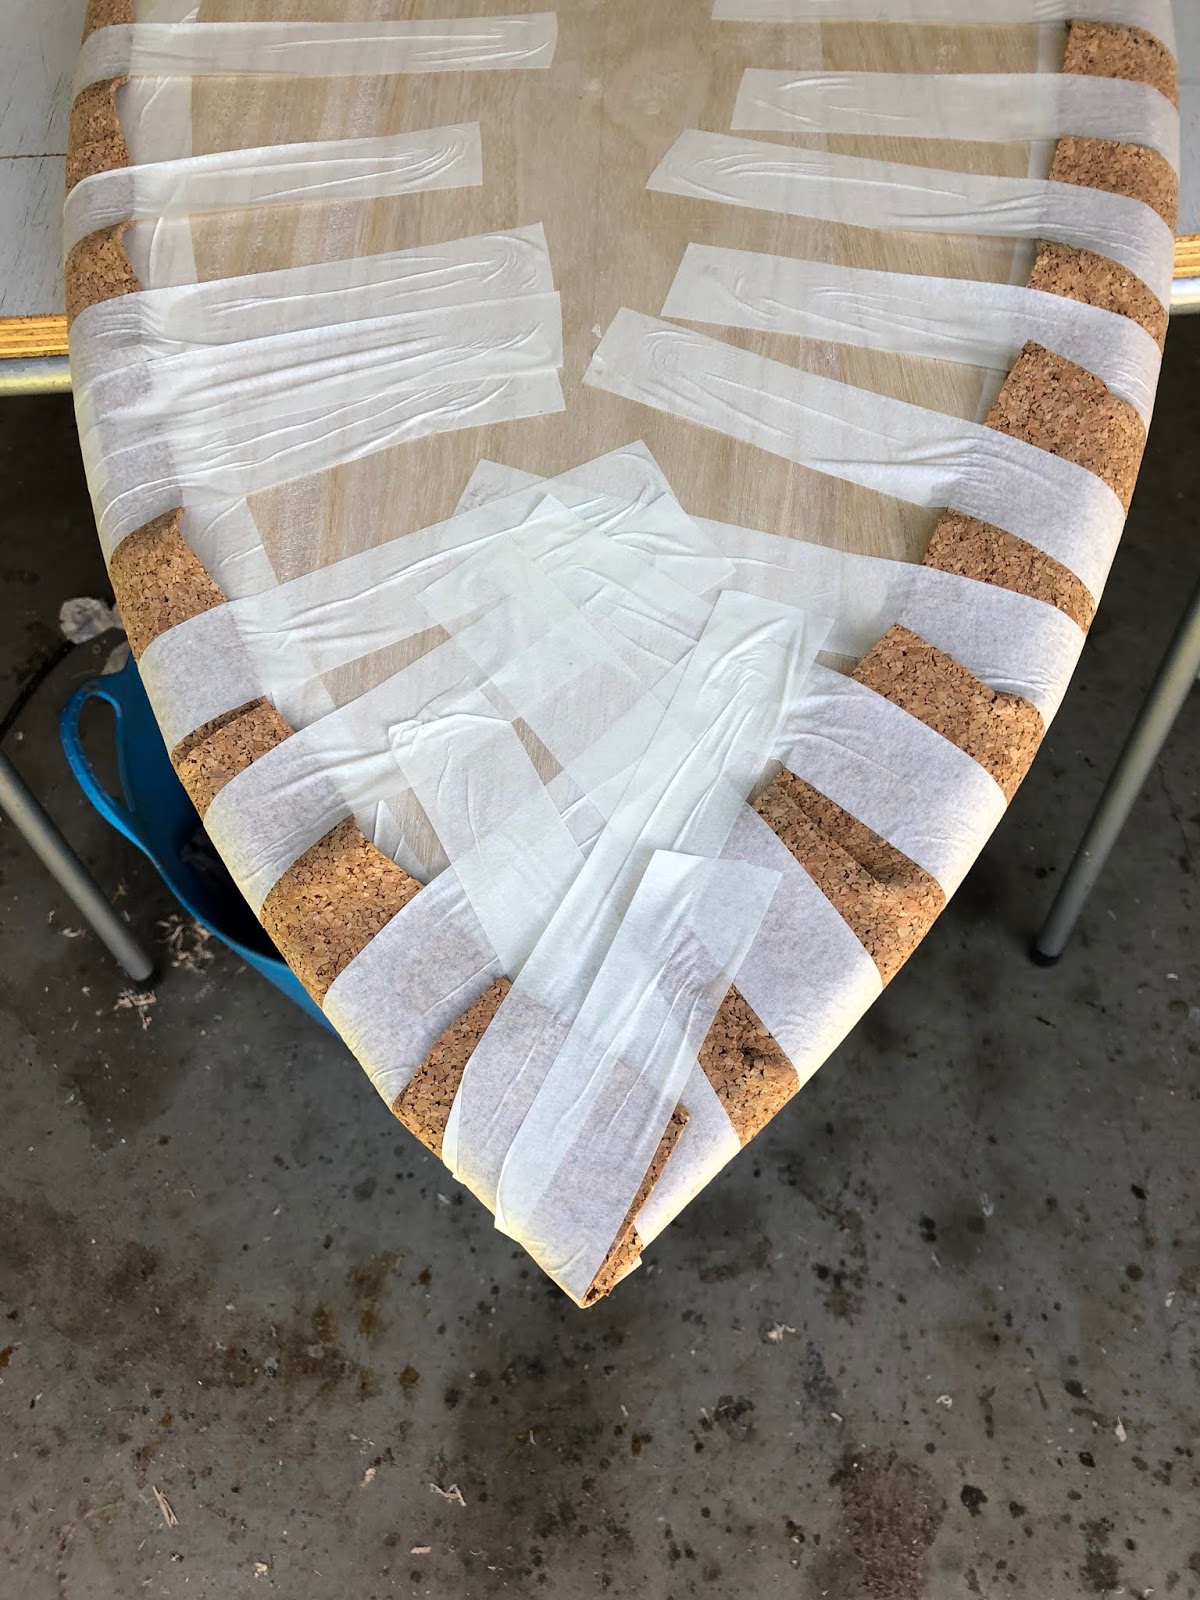
The paulownia panels are taped up and the board is ready to go into the vacuum bag.
Into the vacuum bag for 2 - 3 hours while the glue cures.
My trusty venturi vacuum pump.
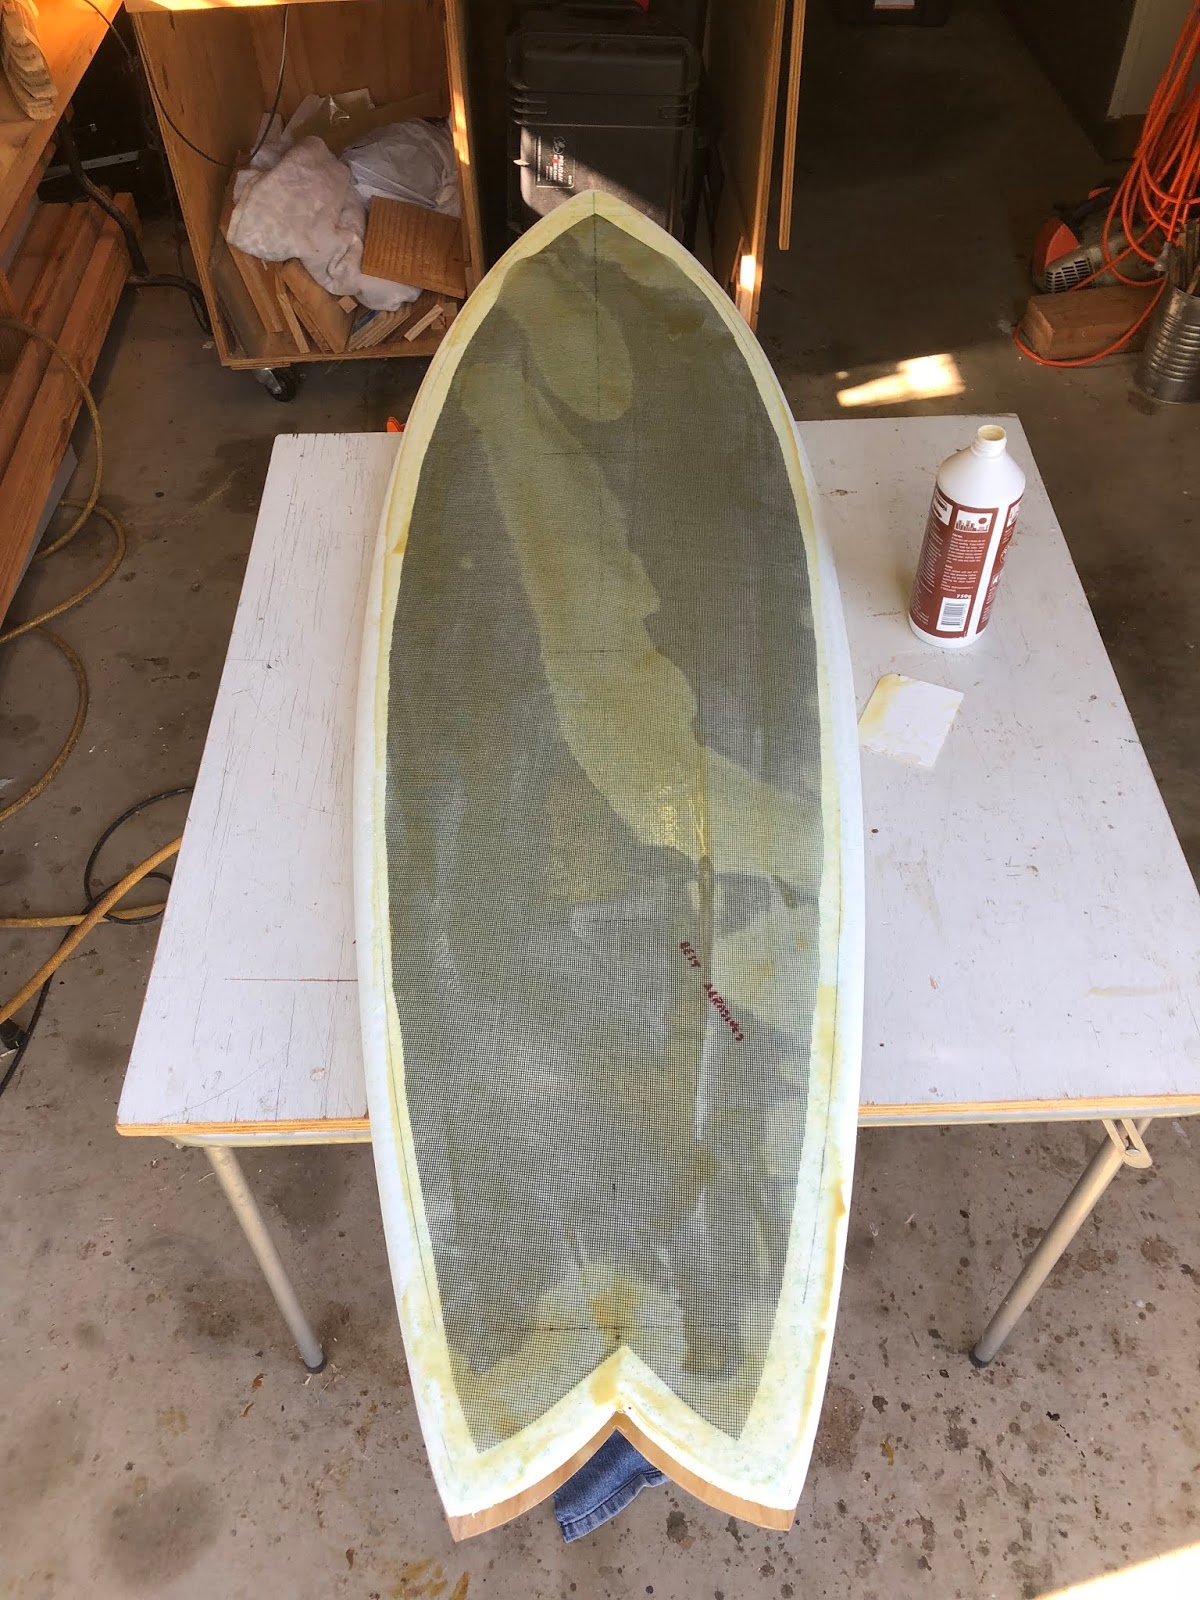
After the glue has cured, I remove the board from the bag and trim the top and bottom paulownia panel edges and taper them into the rails.
Some masking tape around the edges of the bottom panel helps to minimise glue stains when the cork top is glued onto the board.
Cork sheet glued and taped, ready for the vacuum bag.
Plenty of masking tape to keep everything in place.
Wrapping the cork around the nose of the board.
Ready for the vacuum bag.
Paulownia, foam, fibre glass screen, paulownia and cork all layered up.
The cork is trimmed from around the bottom side and sanded back flush with the bottom contour of the board.
Gluing on the tail bands.
A little putty made from sawdust and polyurethane glue to fill the gaps.
Routing out the gearbox fin boxes.
The first coat of epoxy resin, top and bottom. Rolled on with a foam roller then finished with a foam brush.
Gluing in the fin boxes with thickened epoxy resin. The inset covers of the "Gearbox" fin boxes will be replaced with paulownia veneer inserts.
A light sand and a second coat of epoxy resin and the board is ready to go.
Paulownia insert covers for the gearbox fin boxes.
Gearbox paulownia fin box covers.

One happy chappy. He can't wait to get it wet.
Leash plug on the deck.